Any% Hard Disc 2
Blast Furnace
- Throw the Stun at the orange shadow before the door
- Run across the catwalk along the bottom when approaching the sidle point
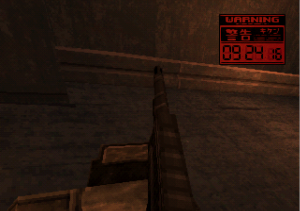
- Nikita is the simplest to use to destroy the crane, line yourself up near the sidle point, fire up. Tactical Reload to destroy precisely
Cargo Elevator
Warehouse (Raven)
Warehouse North
Underground Base (Rex's Lair)
Underground Base 2
Underground Base 3
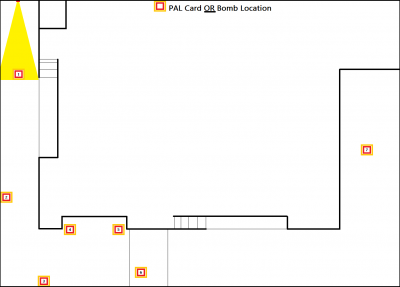
Drainage Ditch PAL Key (10+ Alerts)
- There are 7 spots the PAL Key (and Bomb) can spawn
- This only happens if you have 10 or more Alerts before entering the room
Rat and Room Temperature (Yellow)
- The rat can hear you shoot regardless of distance, so unequip with R1 to avoid this. For example, the rat is by the turret and you shoot by the stairs.
- Jumping into the ditch will spook the rat, regardless of distance.
Command Room (Computer Room)
Low Temperature (Blue)
High Temperature (Red)
MG-REX
Liquid Snake
- During Phase 2, Liquid will counterattack even if you finish with a kick on Hard and Extreme
- You can PPK to finish Liquid off at 12 HP
- You cannot throw Liquid to finish the fight if you knock him down with 0 HP on Normal, Hard and Extreme. Instead, PPK
Various 2, 1 and 0 throw setups
another bottom left side no throw setup by Tromboncino
Escape Route
- Only pick up the ration in the parking lot!
- Guards deal 80 damage (10%) in the parking lot on EZ, and 42 damage during the driving sequence
- 19 shots while driving will Kill Snake
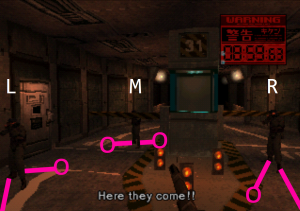
- There are two bottlenecks in the Parking Lot sequence. Your ally will not say “Snake, hold on!” until 9:34.60 on the timer. Therefore, your time can be no faster than 9:31.66. Video example here!
- Aim at the corner of the metal for Checkpoint 1
- Aim at the corner of the door to the left after Checkpoint 2 to aim for the left guard
- Guards take 6 shots each on HD
Liquid Jeep
- Liquid Jeep - 26
- Phase 1 (Swerve 1) - 5
- Phase 2 (Tunnel Bumper) - (2 transition) 4
- Phase 3 (Swerve 2) - 4
- Phase 4 (Columns) - (2 transition) 5
- Phase 5 (Side by Side) - 4 [11 total for phase 4 and 5]


