This is an old revision of the document!
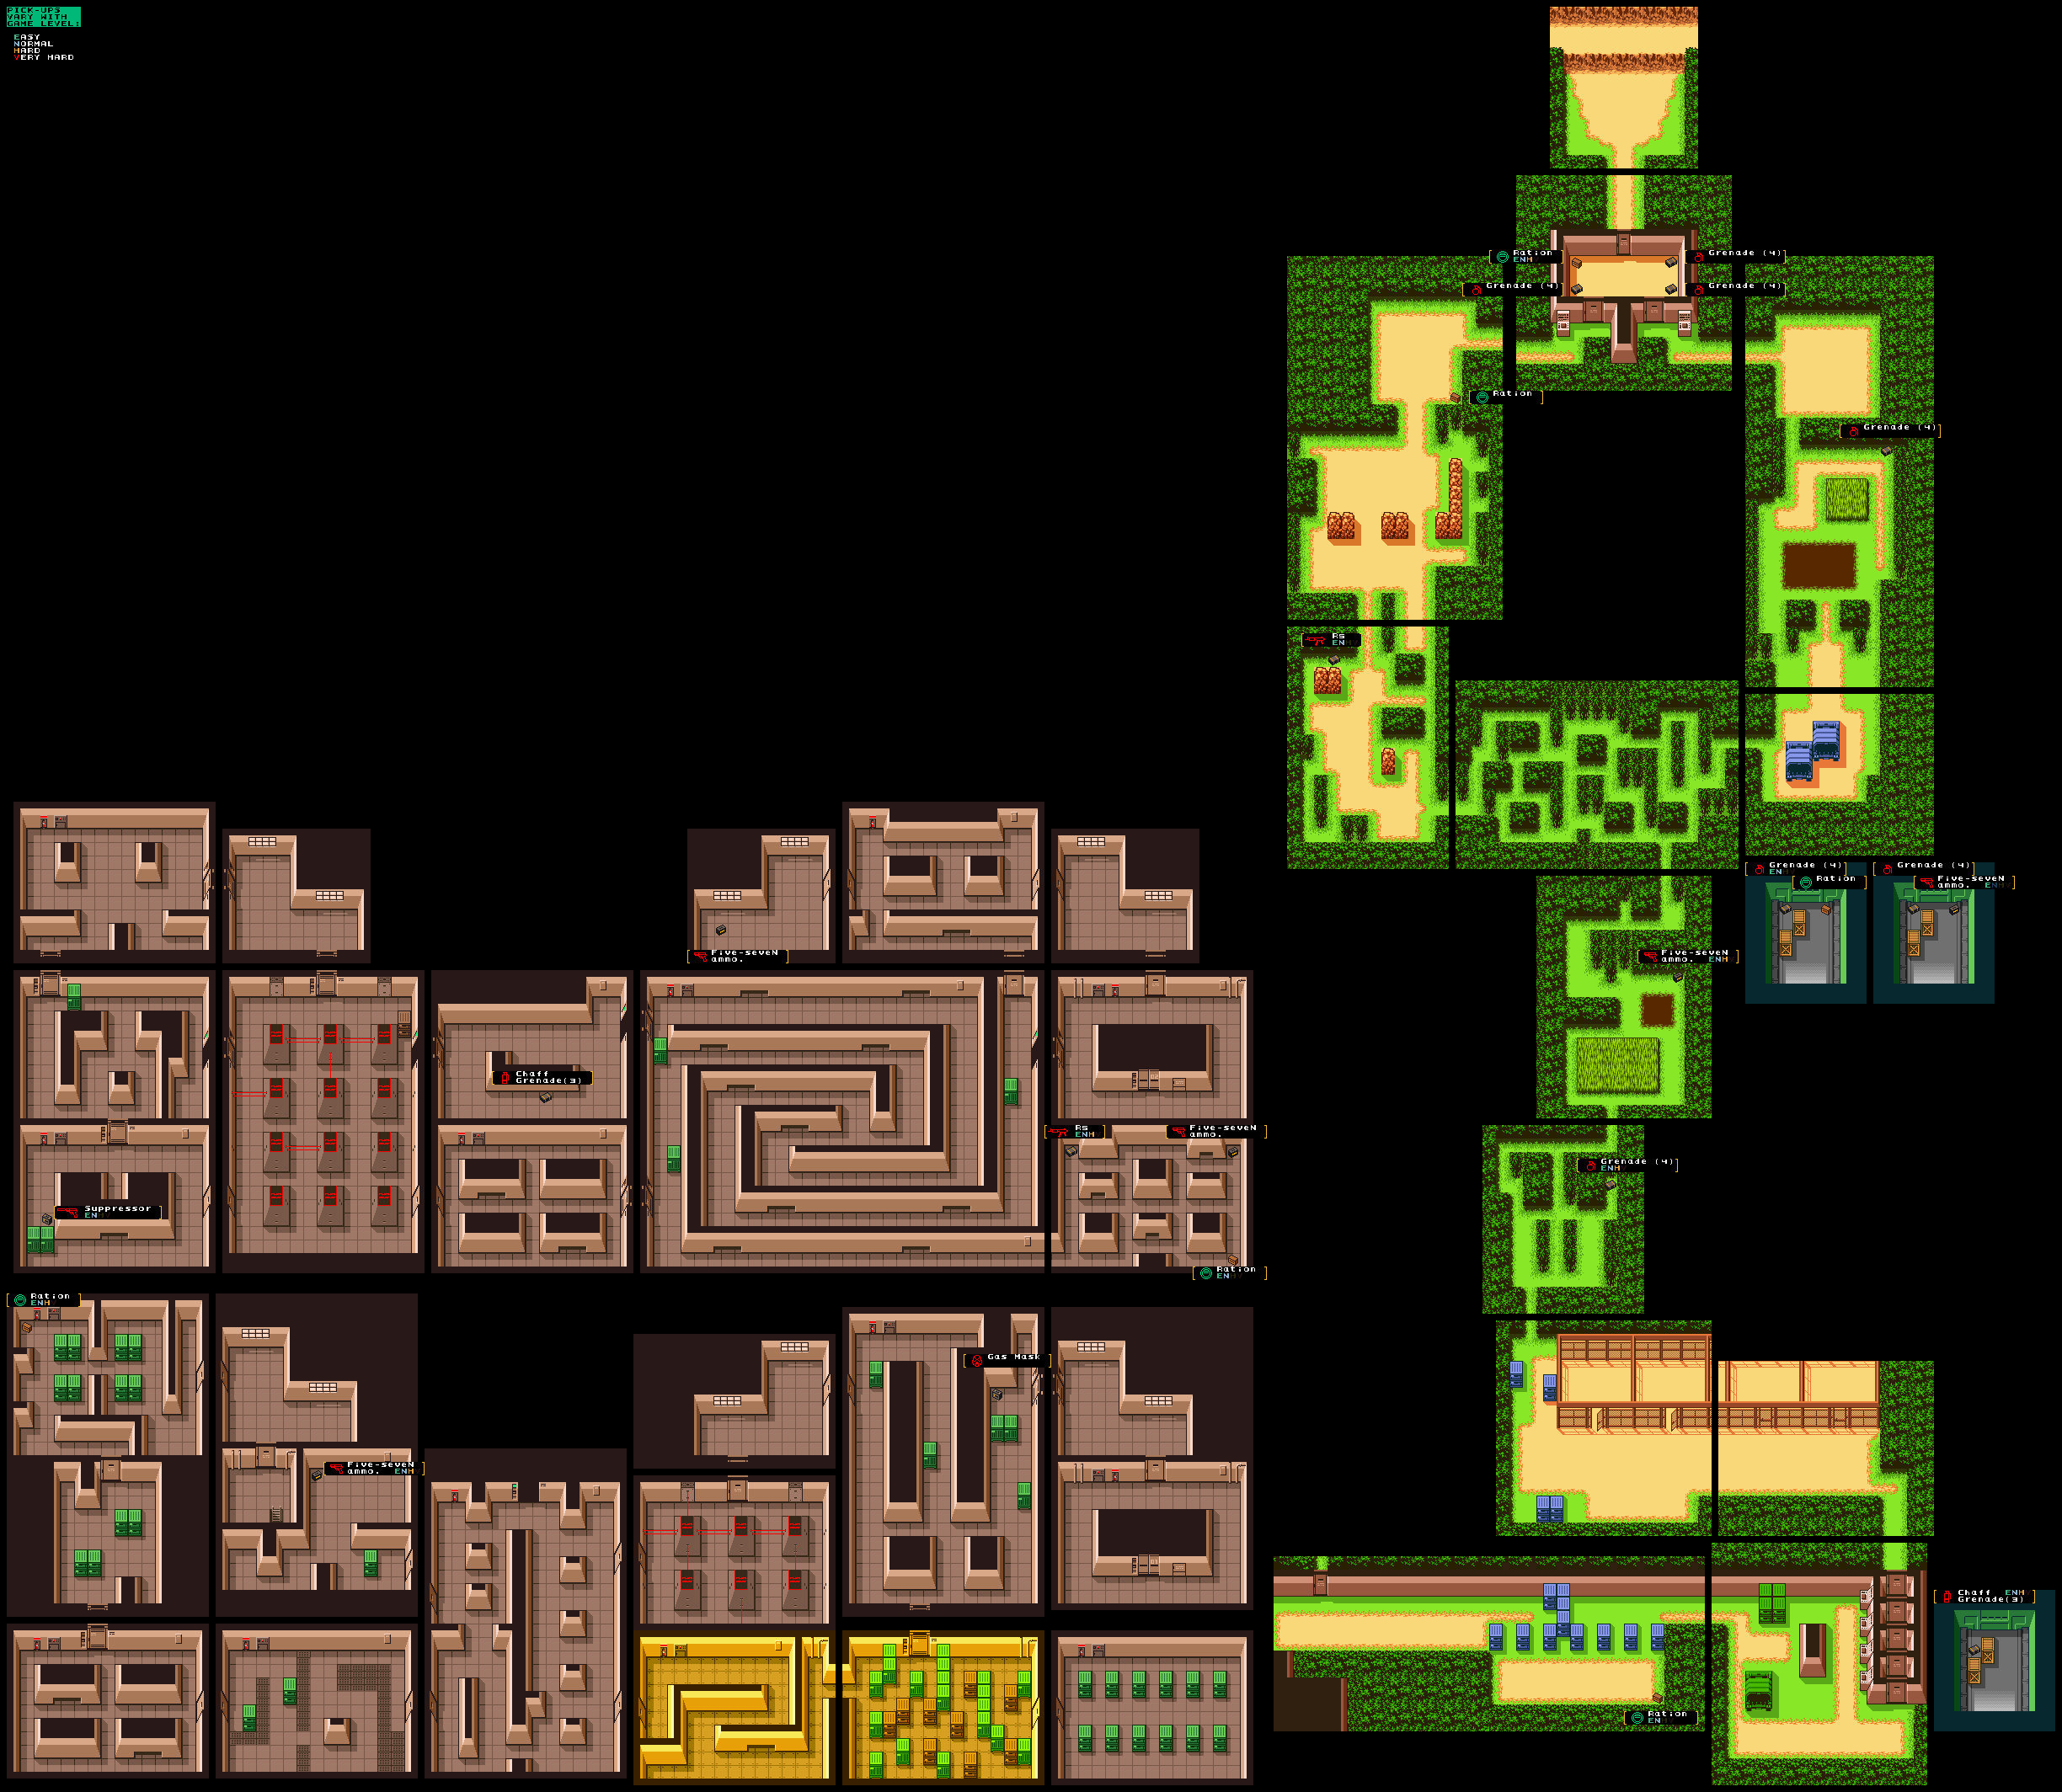
Big Boss Stage 04
- Greater number of guards compared to Normal
- Greater number of cameras compared to Normal
- Available ammo pickups are greatly reduced
- Snake takes maximum damage from enemy attacks
- You have 2 ration capacity to start, 3 after Owl, 4 after Havoc (Normal maxes at 5)
<html> <b><span style=“color:Red”>LOOK BELOW FOR ROUTE UPDATES</span></b> </html>
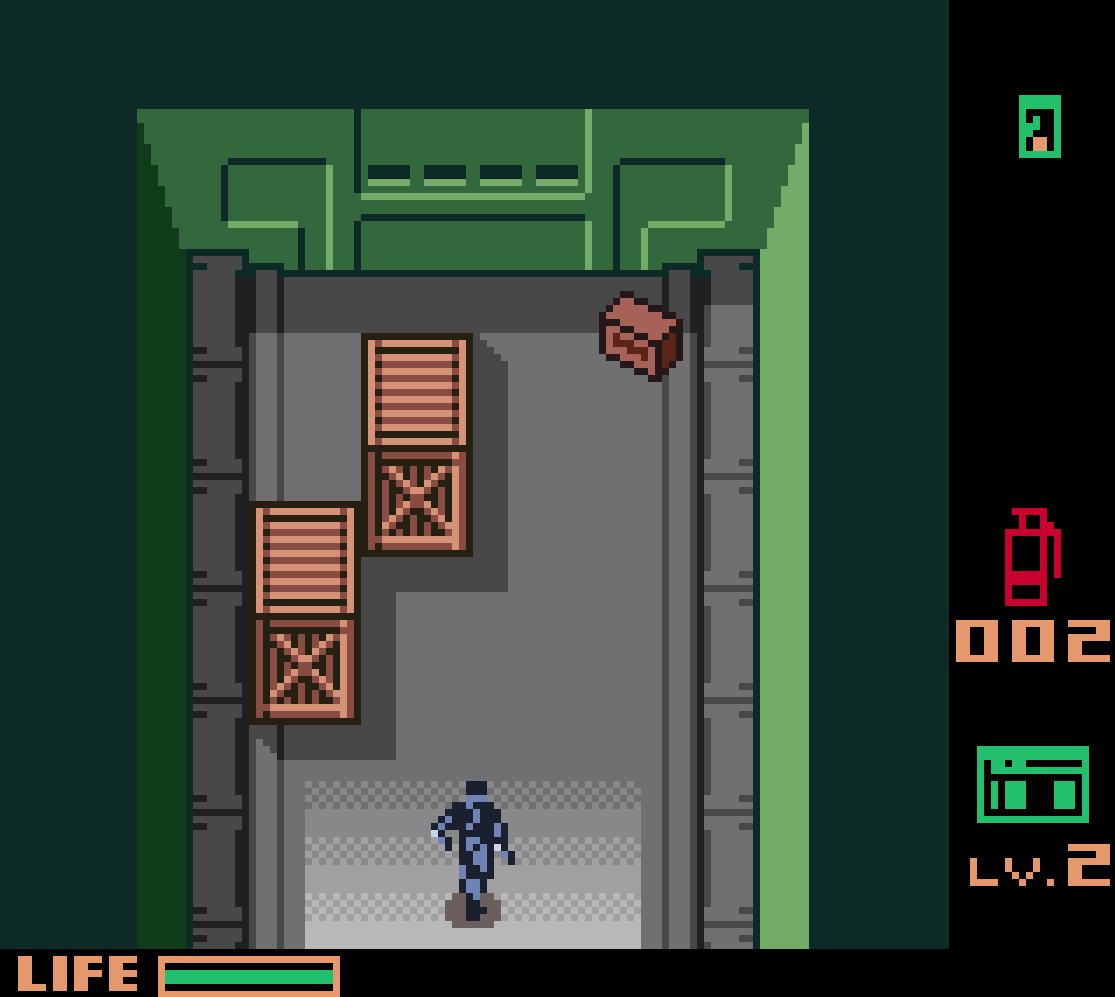
- Chaff Room Routes
- You could throw a chaff along the wall for the second turret, but this is a waste of a chaff compared to later uses.
Camshot Variants for Gasmask room
- Gas Mask Room Improvement, credit to Badhumans for the Knock concept

- Solution for second laser room
- Faster approach for final dogs room. “Dogs are harmless when they're on a diagonal line. It's only when they are running on a y & x axis that they're dangerous” - Badhumans
Doors
KEY
| Memory ID | Description |
|---|---|
| 0 | 1,3,5 - adds or removes doors in the first, third, and fifth position |
| 1 | SOLUTION - removes or adds two doors from the fourth and fifth position, the button the guard presses |
| 2 | SHIFT - shifts the doors |
| 3 | RESET - resets the puzzle |
1st Pattern - 1302
| Pattern (Top to Bottom) | Button Order |
|---|---|
| SOLUTION | 1,4 |
| RESET | DON'T PRESS |
| 1,3,5 | 2 |
| SHIFT | 3×3 |
OR
(SOLUTION > 1,3,5 > SHIFTx3 > SOLUTION) 1,3,4,4,4 and 1 (button order)
2nd Pattern - 0123
| Pattern (Top to Bottom) | Button Order |
|---|---|
| 1,3,5 | 1 |
| SOLUTION | 2,4 |
| SHIFT | 3×3 |
| RESET | DON'T PRESS |
OR
(1,3,5 > SOLUTION > SHIFTx3 > SOLUTION) 1,2,3,3,3, and 2 (button order)
3rd Pattern - 3210
| Pattern (Top to Bottom) | Button Order |
|---|---|
| RESET | DON'T PRESS |
| SHIFT | 3×3 |
| SOLUTION | 2,4 |
| 1,3,5 | 1 |
OR
(1,3,5 > SOLUTION > SHIFTx3 > SOLUTION) 4,3,2,2,2, and 3 (button order)
4th Pattern - 2031
| Pattern (Top to Bottom) | Button Order |
|---|---|
| SHIFT | 3×3 |
| 1,3,5 | 2 |
| RESET | DON'T PRESS |
| SOLUTION | 1,4 |
OR
(SOLUTION > 1,3,5 > SHIFTx3 > SOLUTION) 4,2,1,1,1, and 4 (button order)
No Big Boss Ration, before Mud Dogs
Slasher Hawk
- HP: 47
- Takes 4 damage per hit
- 12 hits to kill
- The hawk flies faster than Normal difficulty.
- Red Boomerang travels linearly
- Green Boomerang travels in a zigzag
- Boomerangs always comes back to his right side (your left)
- Hawk swoops in and out of the battlefield, eventually returning to Slasher Hawk
- Slasher Hawk's Invincibility Frames = 2.5
- 0.5 second for grenade throw
- Therefore, count to 2 seconds or 7 flashes - throw grenade