Disc 2 Extreme
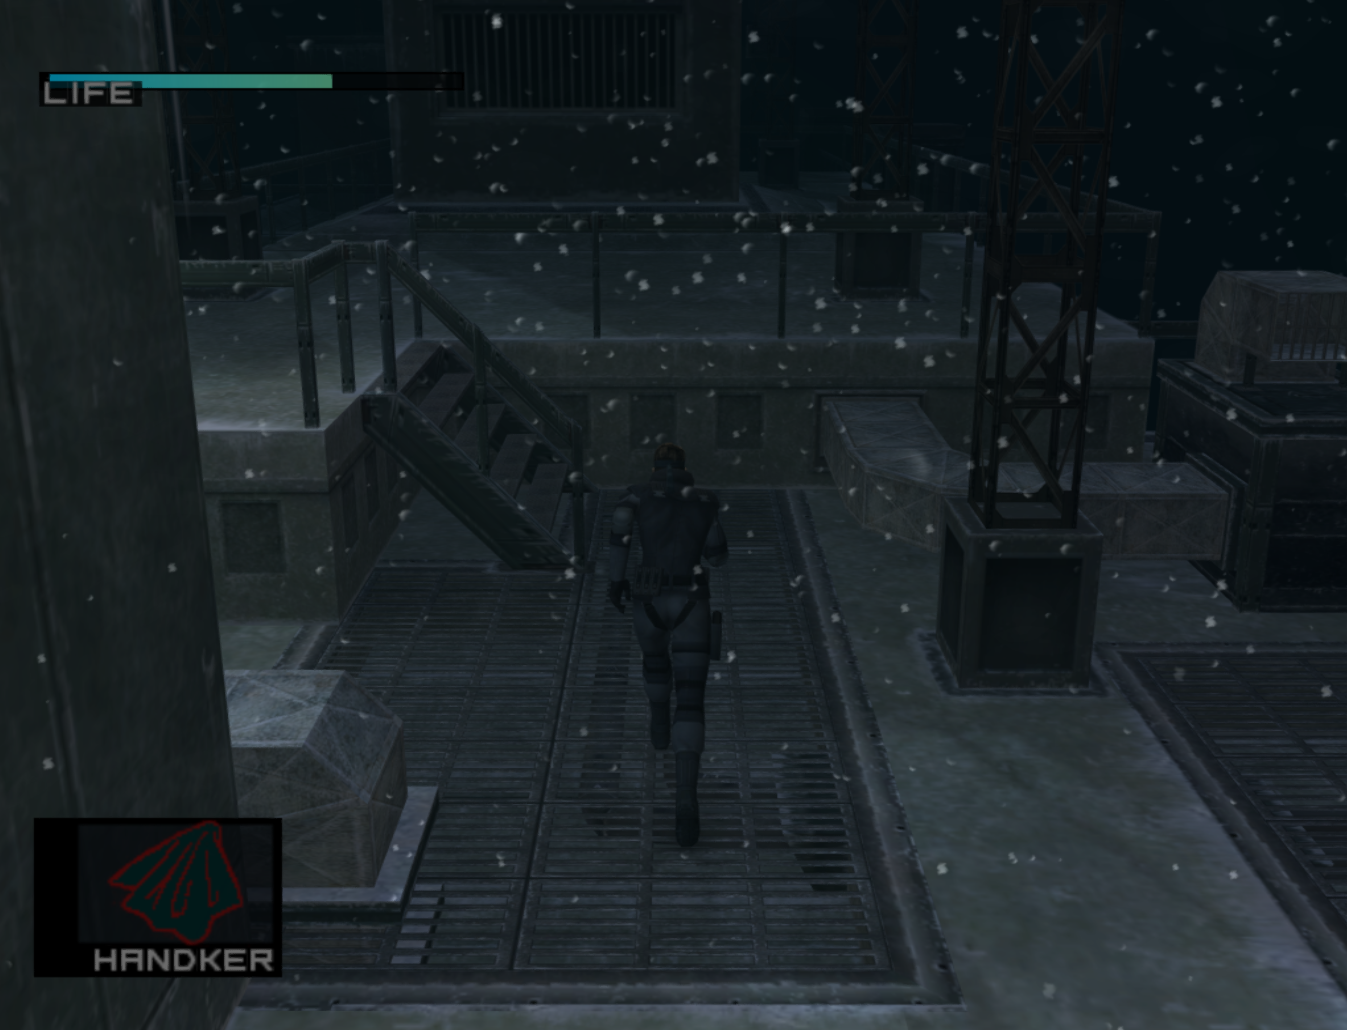
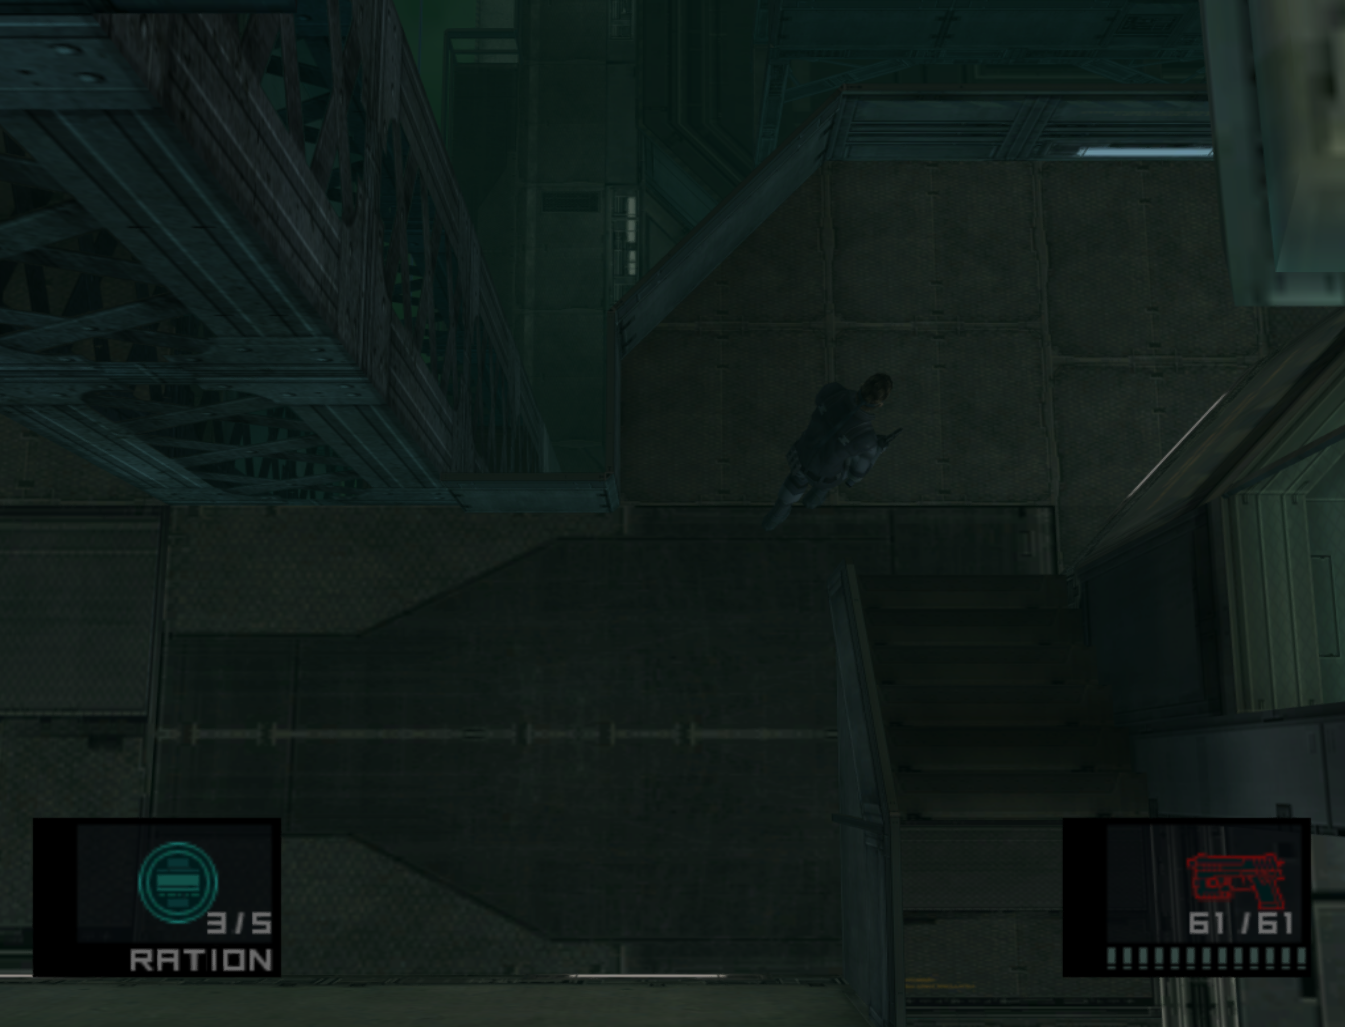
Communication Tower A
- You can use a grenade or a stun grenade to incapacitate the alert guards. Be aware that mistakes along the way can allow the guards to catch up.
- Using more stun grenades for the tower climb can potentially save time over using the M9.
| Grenade | Cook | Throw |
|---|---|---|
| 01 | BLACK LINE BEFORE CORNER | DOUBLE BLACK LINE, 2ND LINE |
| 02 | JUST PAST FLOOR 8 MARKER | WALKWAY LIGHT ALONG WALL |
| 03 | FLOOR 16 MARKER | FLOOR 18 MARKER (TRANQ SECOND GUARD WHILE PASSING BY) |
| 04 | AS SNAKE IS PASSING FLOOR 23 COLUMN | AROUND THE CORNER, PASSING FLOOR 25 MARKER |
| 05 | IMMEDIATELY AFTER LAST THROW | MIDWAY UP FINAL FLIGHT OF STAIRS |
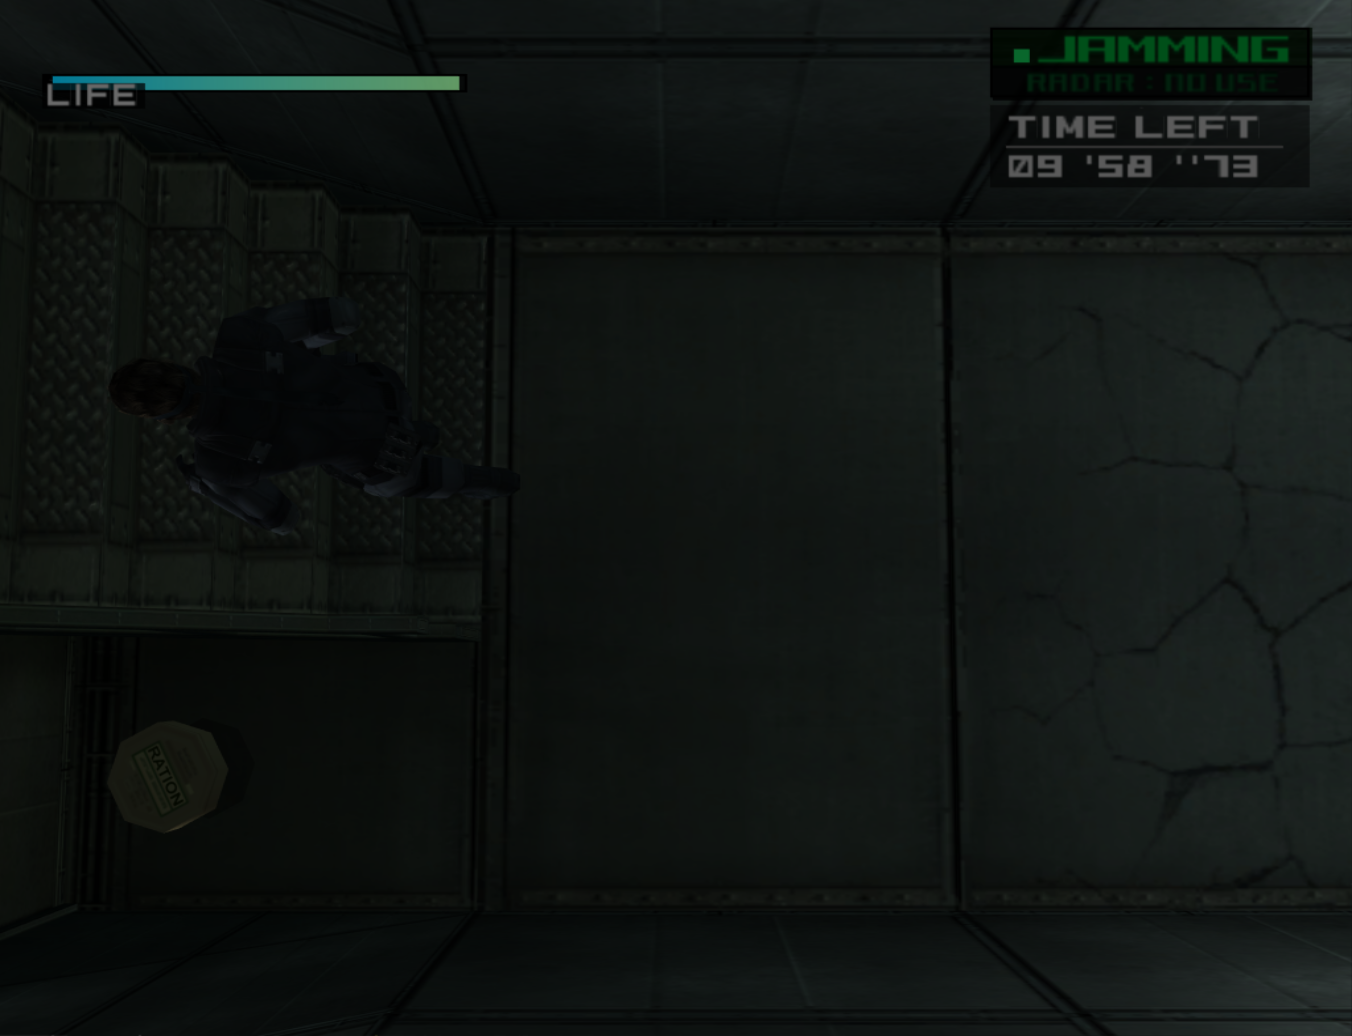
- Tranquilize Floor 6, 11, and 15 Guards
- Hold B after shooting if you want to keep moving and easily press A again to hold the gun up. Press A THEN B to hold up the gun, so you do not punch.
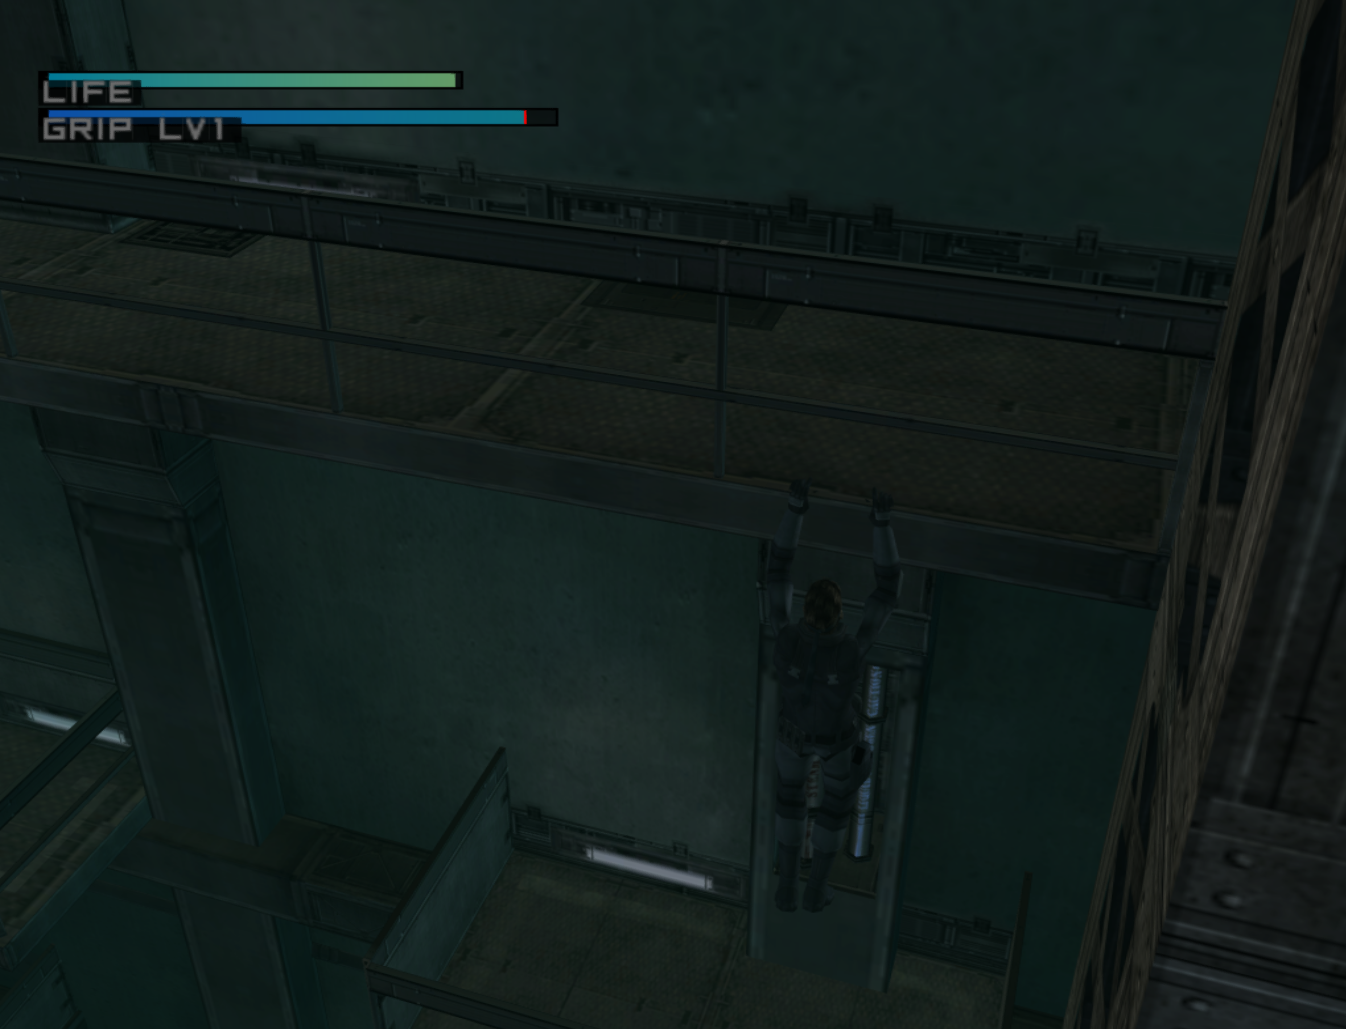
- Keep your Stun Grenades equipped as you climb the ladder.
- Easier version of Tower Climb that doesn't use as many Stun Grenades
Communication Tower A Roof and Wall
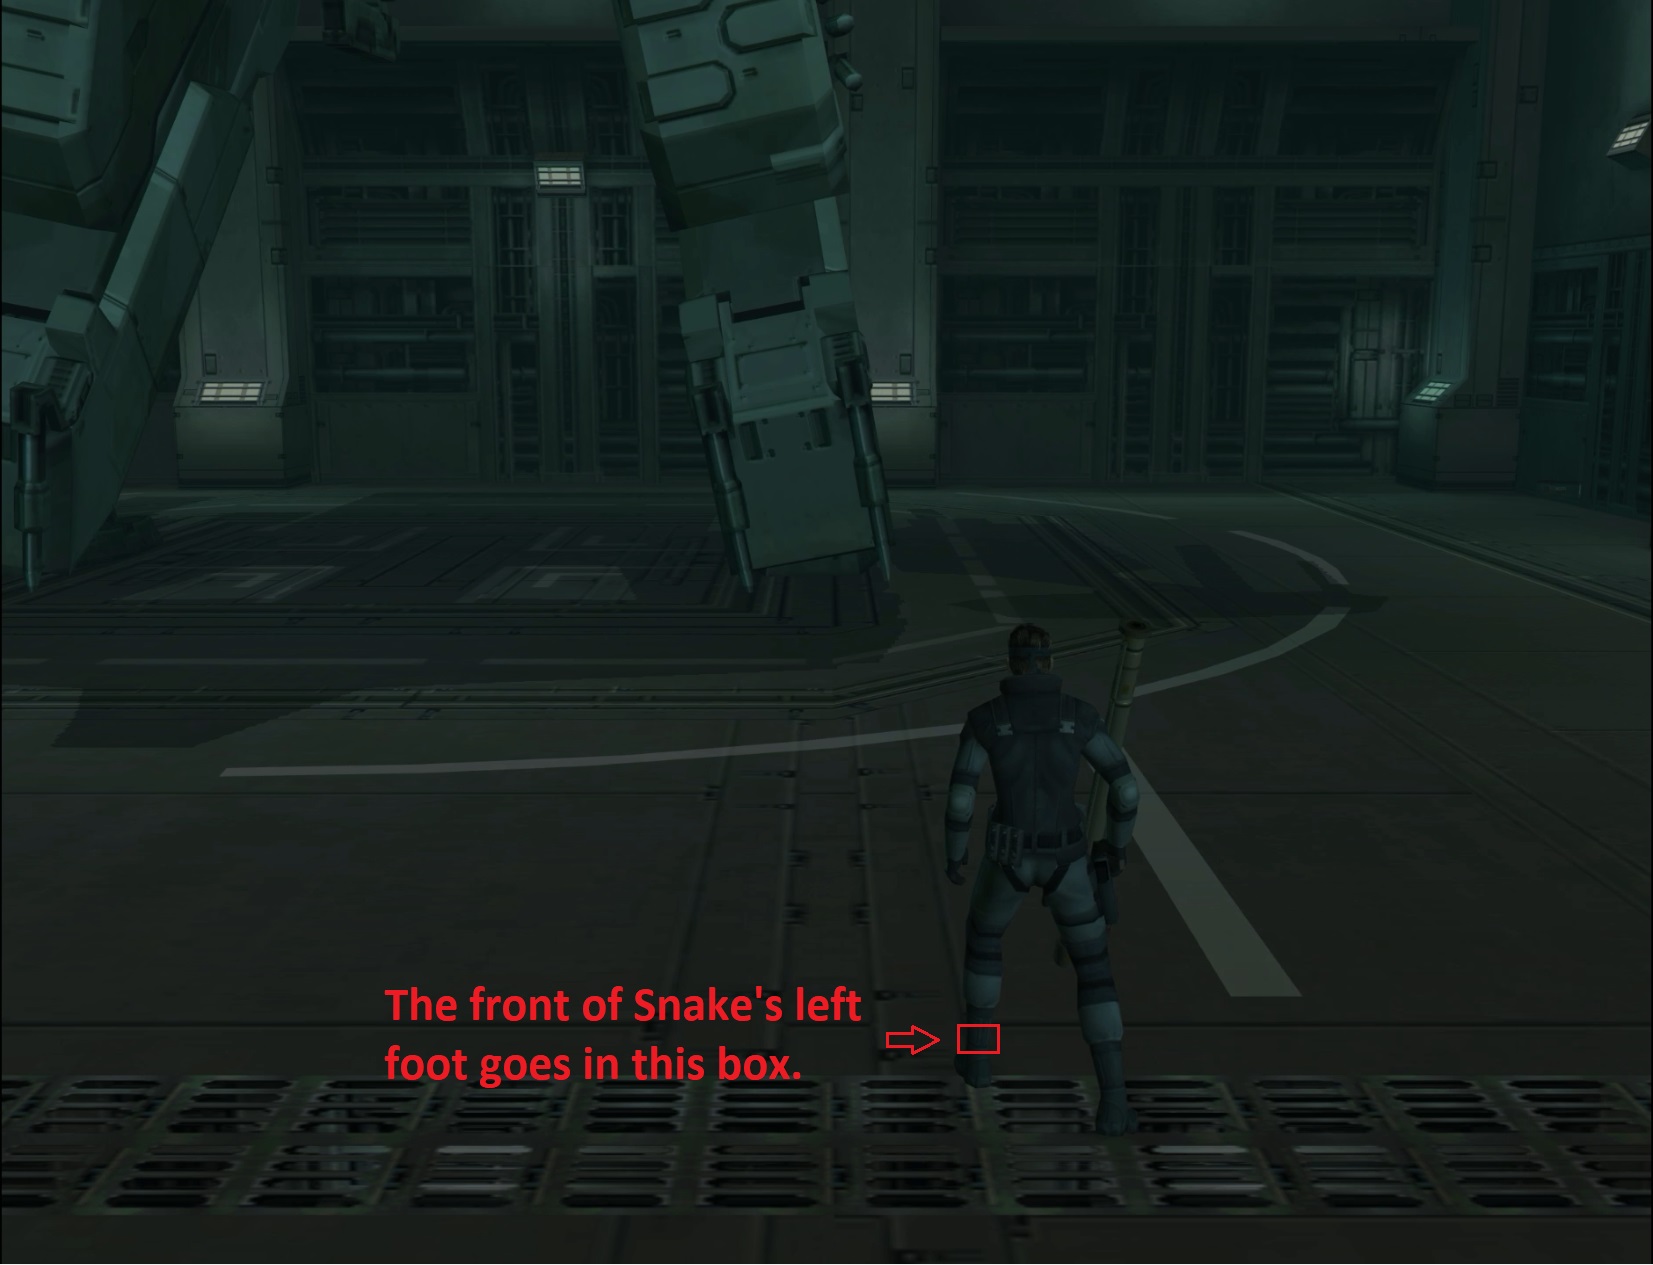
- You can save frames by rolling onto the roof, but it is precise to do so. If you fail you lose frames.
- You just need a tap to the right as you move up to the Satellite stairs.
- Roll as you pass the vent on the left to save up to 24 frames. As you roll, L ◄ or ► 1 for Rope.
- Do not mash Start and B during the fadeout to the rope scene, you may accidentally pause.
Rappel
- Remember, to jump you need to press A. To stop on the wall, press B.
- After the helicopter flies by, two down jumps followed by B.
- Run downleft along the girder. The steam is random.
- Once Snake is at the corner, downleft jump.
- Down jump once you hit the girder.
- Downright jump once you hit the next girder.
- Press B when Snake gets underneath the girder to do the girder glitch.
Communication Tower Corridor (Walkway)
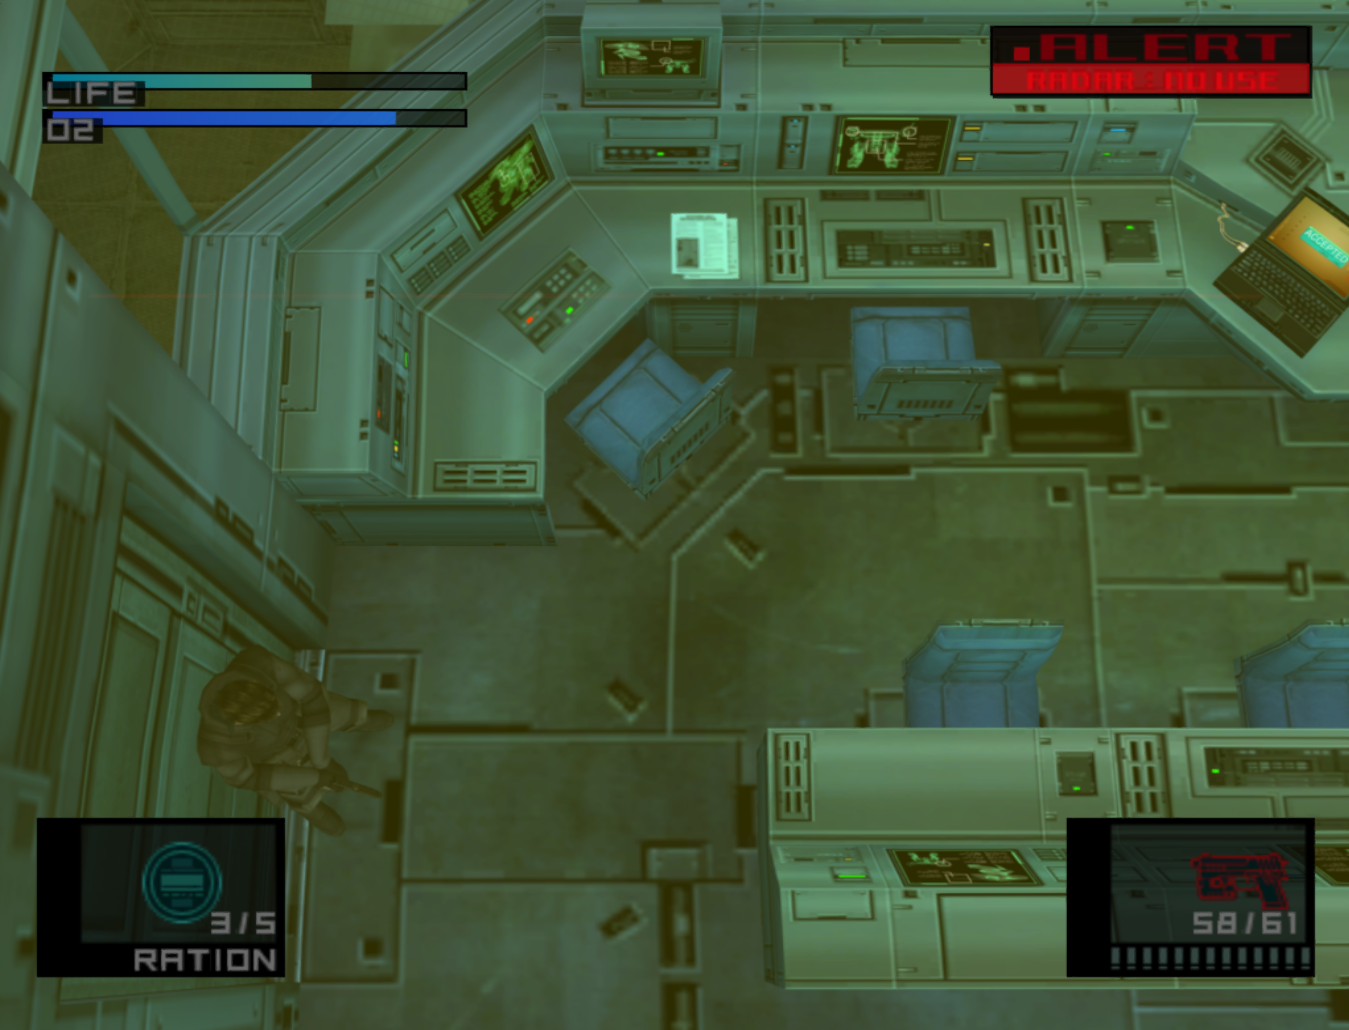
- IF you opted to pick up 3 C4 in Armory, now is the time to pick up the C4.
- For PSG1-T strat - swap to Stun grenades R ▲ 1, L ▲ 1 to Pentaz, use one.
- You can save up to 4 frames rolling into the Tower B door.
Communication Tower B Ascent
- Roll into the “Damn!” trigger after you turn the corner.
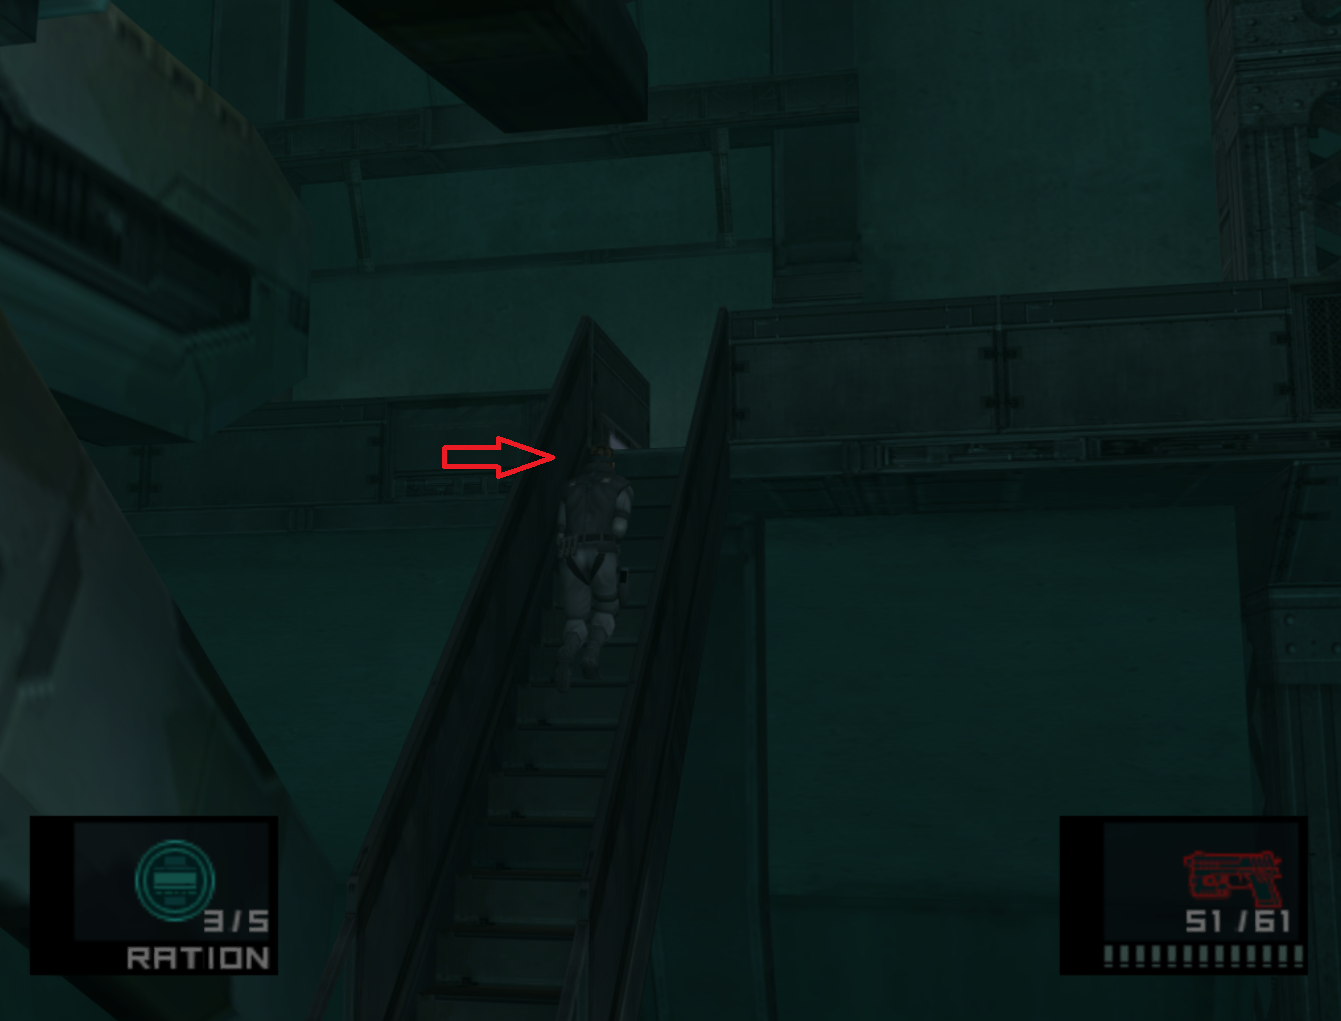
- Roll up the staircases.1)
- Roll into the Otacon cutscene when you turn the corner.
- Before Hind from nothing, L ▼ 1 Ration, from Pentaz L ▼ 2
Hind-D
- Turn the corner, and aim at the pillar
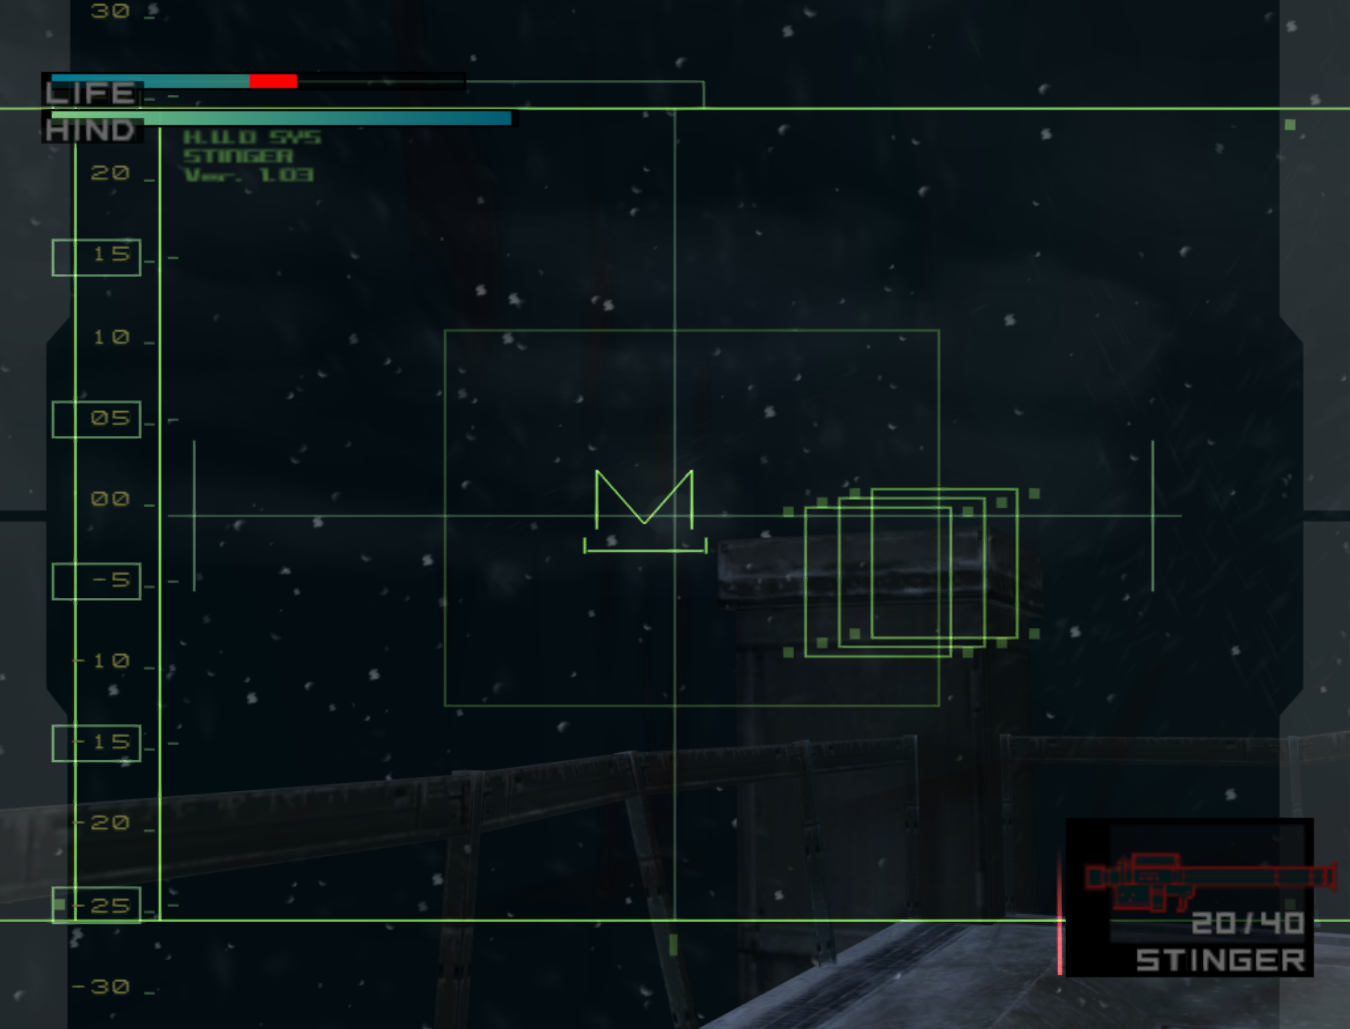
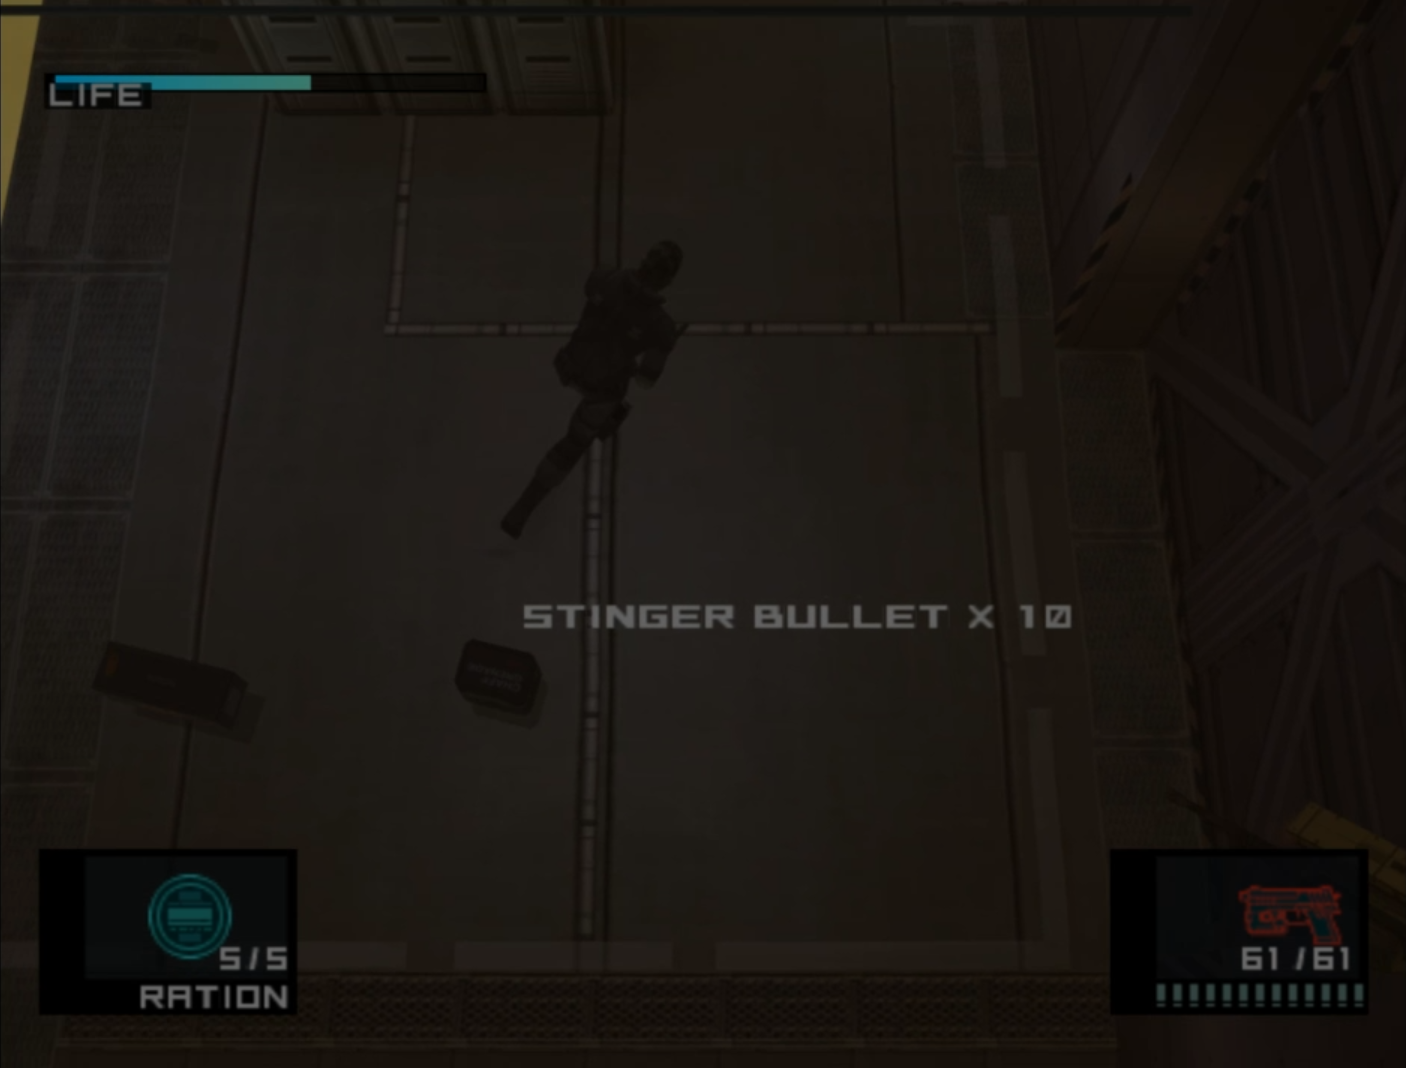
- From Nothing, R ▲ 2, ◄ or ► 1 for Stinger
- The Hind's invincibility frames last 4 seconds.
- Start Phase 2 on top of the ammo box on the right side.
- During phase 2, the two corners of the map he's guaranteed to shoot more bullets. In those corners you will get hit if you don't move.
- If Hind's anywhere else, shoot quickly to avoid damage.
- You may need a ration for this fight if things go poorly!
- End the fight with the Stinger out.
Communication Tower B Descent
- From Stinger, R ▲ 1 for Grenades [At the top of the tower, press up)
| Grenade | Cook | Throw |
|---|---|---|
| 01 | TOP OF MARKER 25 | FIRST STEP ON NEXT FLIGHT |
| 02 | TOP OF MARKER 21 | FIRST STEP ON NEXT FLIGHT |
| 03 | TOP OF MARKER 17 | FIRST STEP ON NEXT FLIGHT |
| 04 | TOP OF MARKER 13 | FIRST STEP ON NEXT FLIGHT |
- If you do not destroy all turrets, roll down the stairs when you hit the first step. You can choose to do this instead of cooking grenades.
- After calling the elevator, from stinger, R ▼ 1 for C4
- After the elevator moves, hold Start+A to answer Otacon's call as soon as possible.
- Press A, then mash B to explode the guards quickly.
- Pick up the SOCOM ammo if you want, swap to Stinger out before Snake sighs in relief.
Sniper Wolf 2
- Move onto the PSG-1 T ammo. Swap to Stinger to see where Wolf is.
- From nothing or Ration, L ▲ 1 or 2 to Pentaz, finish off the Pentaz (not necessary if you used PSG1-T for the Walkway)
- From Stinger, R ▲ 2 for PSG1-T
- As you roll into the Wolf cutscene, equip the socom or nikita. Rolling into the cutscene trigger saves up to 22 frames. Plywood's visual cue is the shadow from the tree.
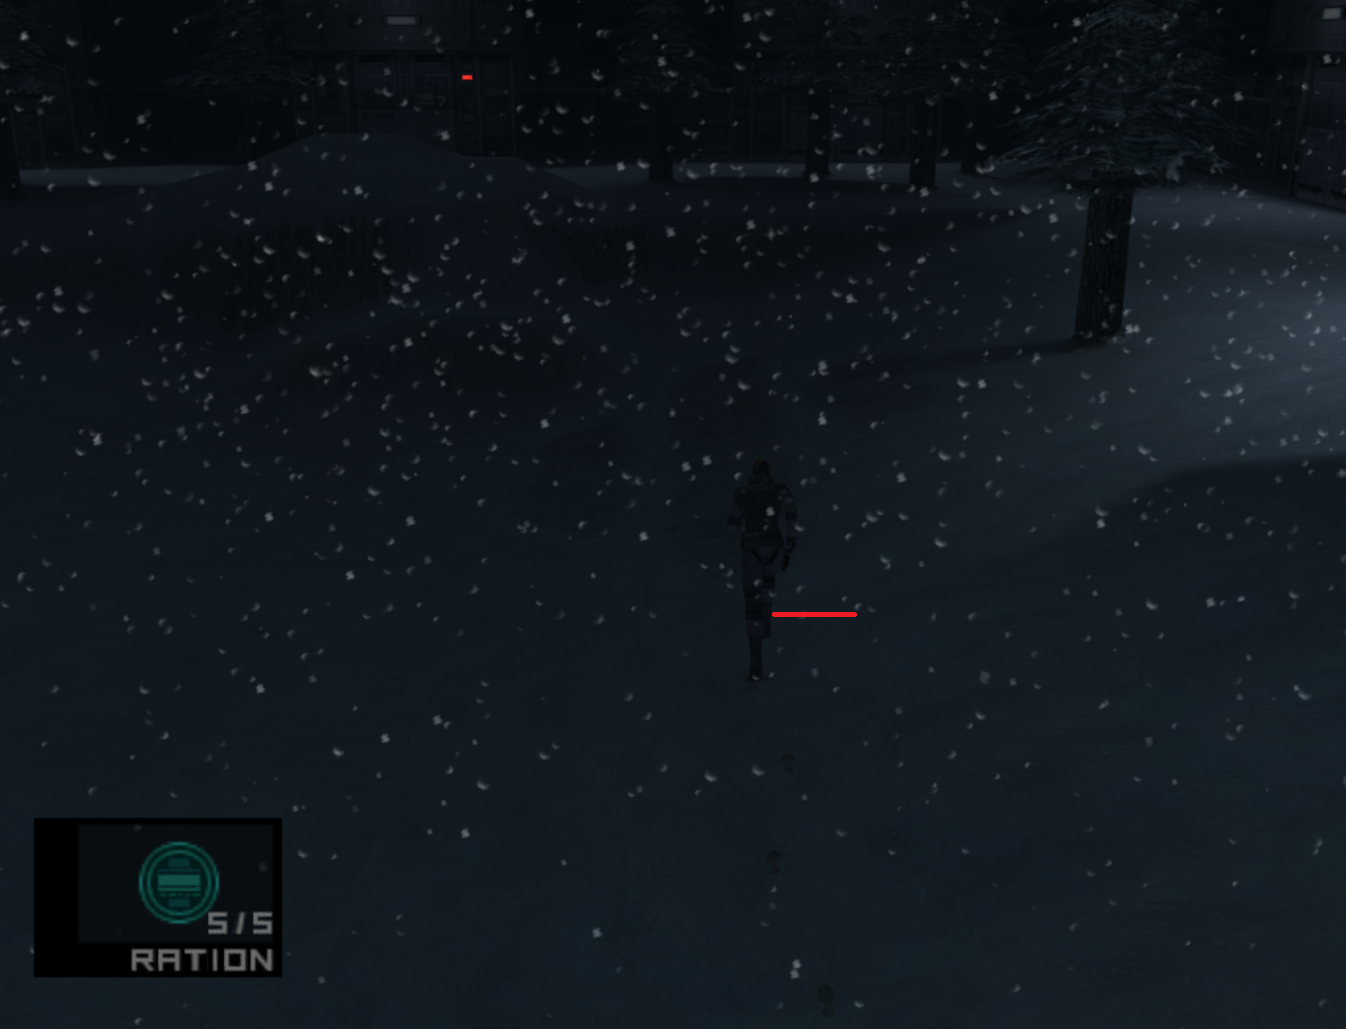
- From nothing, R ▼ 1, ◄ or ► 1 for M9 OR From nothing, R ▲ 1 for Nikita.
Blast Furnace
- After entering the door to the Blast Furnace, go left and press Y to hang over the rail. Press X to drop.
- We trade health to avoid going against the ledge with the crane.
- Pick up the stinger ammo, roll into the gap to go into the pipe room. You can set yourself up with the line going through the lockers.
- You can avoid the steam damage by running along the bottom wall.
- Roll at this line to save 23 frames compared to running forward.

Cargo Elevator
- You don't need to face the panel to interact with it. Just run forward and press Y.
- The slow but easy strategy is to knock out all three guards with the nikita whack.
- The faster strategy is to headshot all guards. Shoot the guard diagonally across. Lock on with B. TPV and punch to lock onto the final guard behind you.
- Rolling into the Warehouse door saves up to 2 frames.
Vulcan Raven
- Go prone around this spot, along the edge of the final box on the bottom row.

- Make sure to pace out your shots. Don't fire too quickly, or you will hit his i-frames or deal too much DPS, forcing you to do a backup.
- In a backup situation, go to the opposite side to the edge of the first box on the bottom row.
- On dpad, hold upright then right to run along the horizontal line, hold upright at the vertical tile line to roll into the opening door. This saves up to 15 frames.

Warehouse North
Underground Base (Rex's Lair)
- Hold upleft during the camera change to save 4 frames.
- Roll once you get past the lights on the wall to save up to 12 frames.
- After skipping the cutscene, call Otacon 3 times. This is around a second faster than taking each call on their own.
- Roll once you see Snake's head go above the final step.
- To save up to ~8 frames, you need to flick down then roll as Snake is turning to the stairs. This is fairly precise. The first step is the load zone trigger.
Rope Drop
- There is an 8 frame window to grab the rope, the final frame is so late that “it looks like Snake's feet are touching the ground.”
- At 60FPS, you have 0.13 seconds to input or hold Y
- If you press or hold Y on the frame previous to the 8 frame window, Snake will die.
- This is thought to be a countermeasure for autofire.
- Wallguy's “Rope Drop of Shame” backup can be found below
PAL Card
- When rolling up the final set of stairs, ration to PAL card
- Shoot the camera in the computer room. There is an audio cue for its destruction and a visual cue of the green light turning red.
- You will have to kill yourself if you run into the computer room without destroying the camera.
- Mash Y as you approach the first laptop.
- Run around the top catwalk to the opposite side.
- Drop here for the Liquid Nitrogen Pipe (Blue Card/Freeze the Key) to do a TPV shot.
- Run back to the computer room to use the second laptop.
- Drop here for the Steam Pipe (Red Card/Warm the Key) to do a TPV shot.

- Run back to the computer room to use the third laptop.
- Hold Start+A after the Liquid codec. Press down to open the codec call list.
- If you didn't get the Nuke Building 1F call, press up and left for Otacon.
- If you did get the Nuke Building 1F call, press up for Otacon.
- Press B to exit the call, hold left on Dpad and start. Quick change to ration. Once Snake's back is leaning against the Door, Press A.
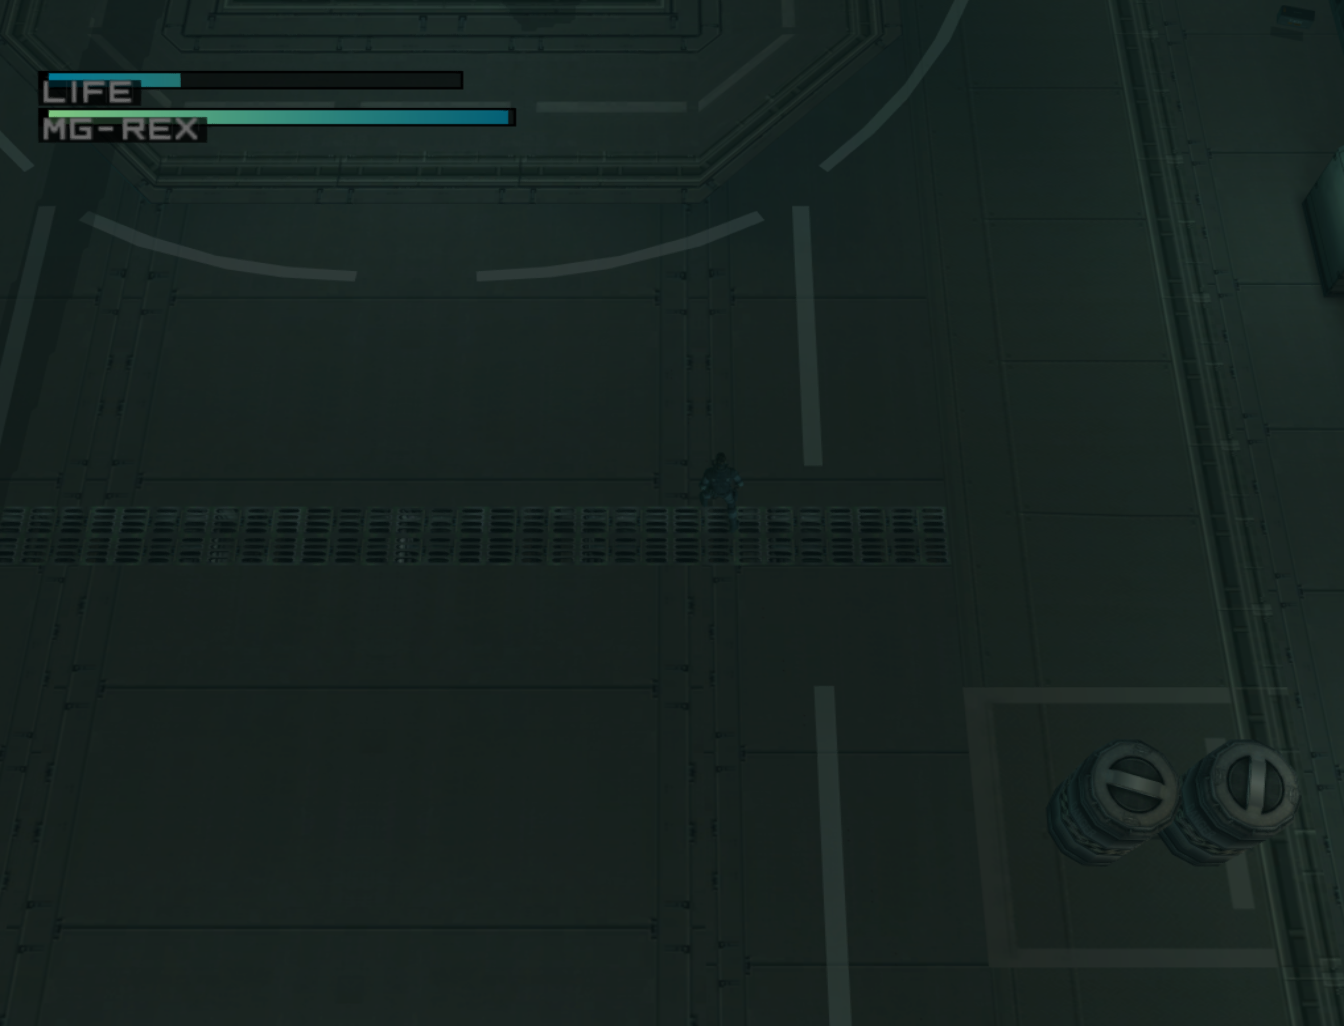
Metal Gear Rex
- At minimum, you need 14 stinger missiles to defeat Rex
- From nothing, R ▲ 1, ◄ or ► 1 for Stinger
Radome
- From whiteout to ending of invincibility frames is about 5 seconds long2)
- The Radome's invincibility frames are 2 seconds long (120 frames) without lag.
- Fire after 1 second3).
- This is the magic spot where you will only get hurt by the machine gun, not the missiles.
- If you are unsure you got the magic spot, creep a bit forward after the first set of missiles.
Cockpit
- STAND STILL, DO NOT MOVE
- Don't forget to re-equip the ration!
- You should only move if you hit another part of Rex.
- The Cockpit's invincibility frames are 2 seconds long (120 frames).
- If in the rear, fire after 1 second.
- If in the front, fire after 1.5 seconds.
Liquid Snake
- This fight requires a lot of practice to understand Liquid's AI. With enough practice and knowledge, 2:00 flat is an achievable time floor.
JMChunk initial roll for quick damage, can be followed up by the lottery roll afterwards
Escape Route
- Once Snake steps on the stairs, roll forward.
- When using the Machine Gun, 6 shots will destroy a barrel
- You can not instakill a guard with a headshot or groinshot
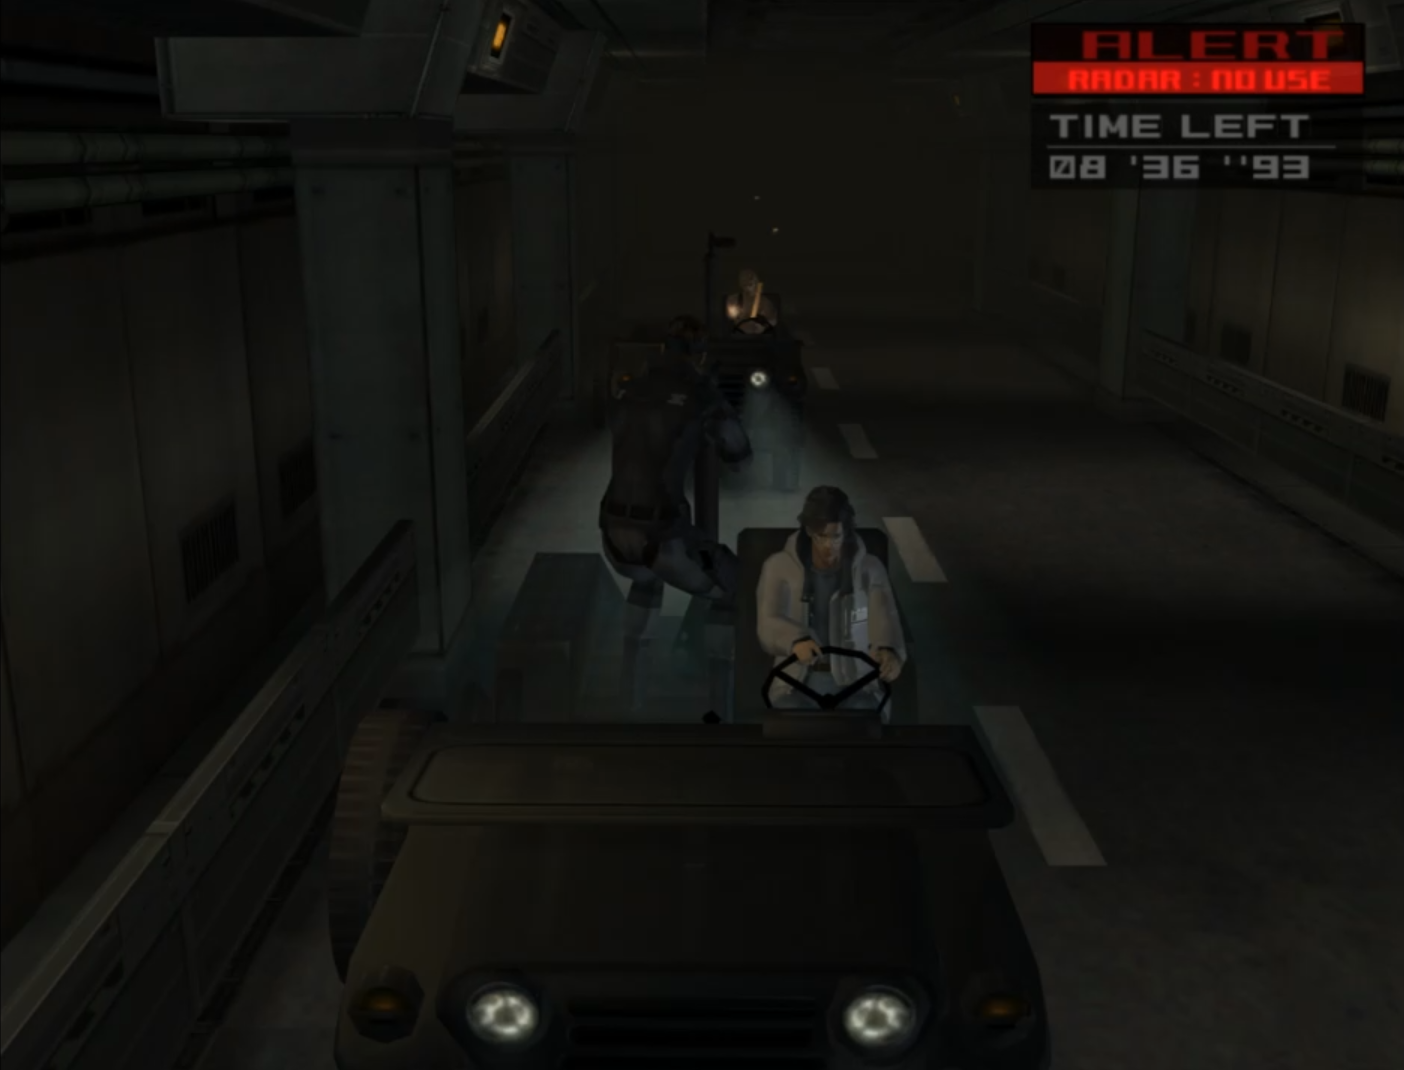
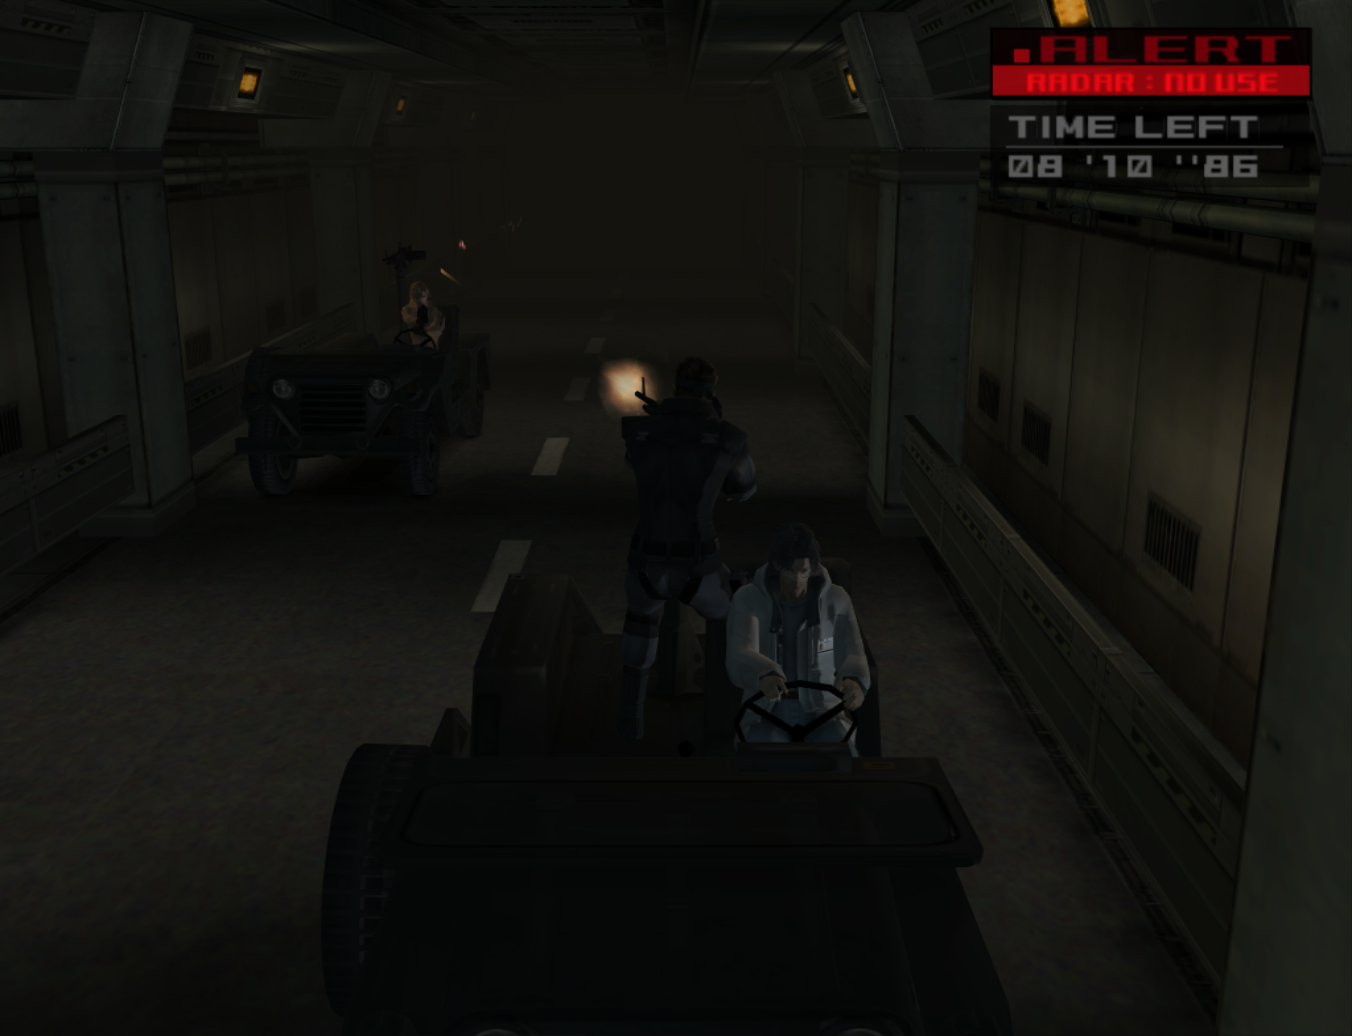
Liquid Jeep
- Shoot immediately at start, you’ll hit him with a right tap.
- Aim along the outside of his jeep, fan in once he aims the FAMAS at Snake.
- There’s a low chance that when he crashes into your jeep, his car will become slower and lag behind. This changes the tunnel phase, as he won’t drive into your jeep.
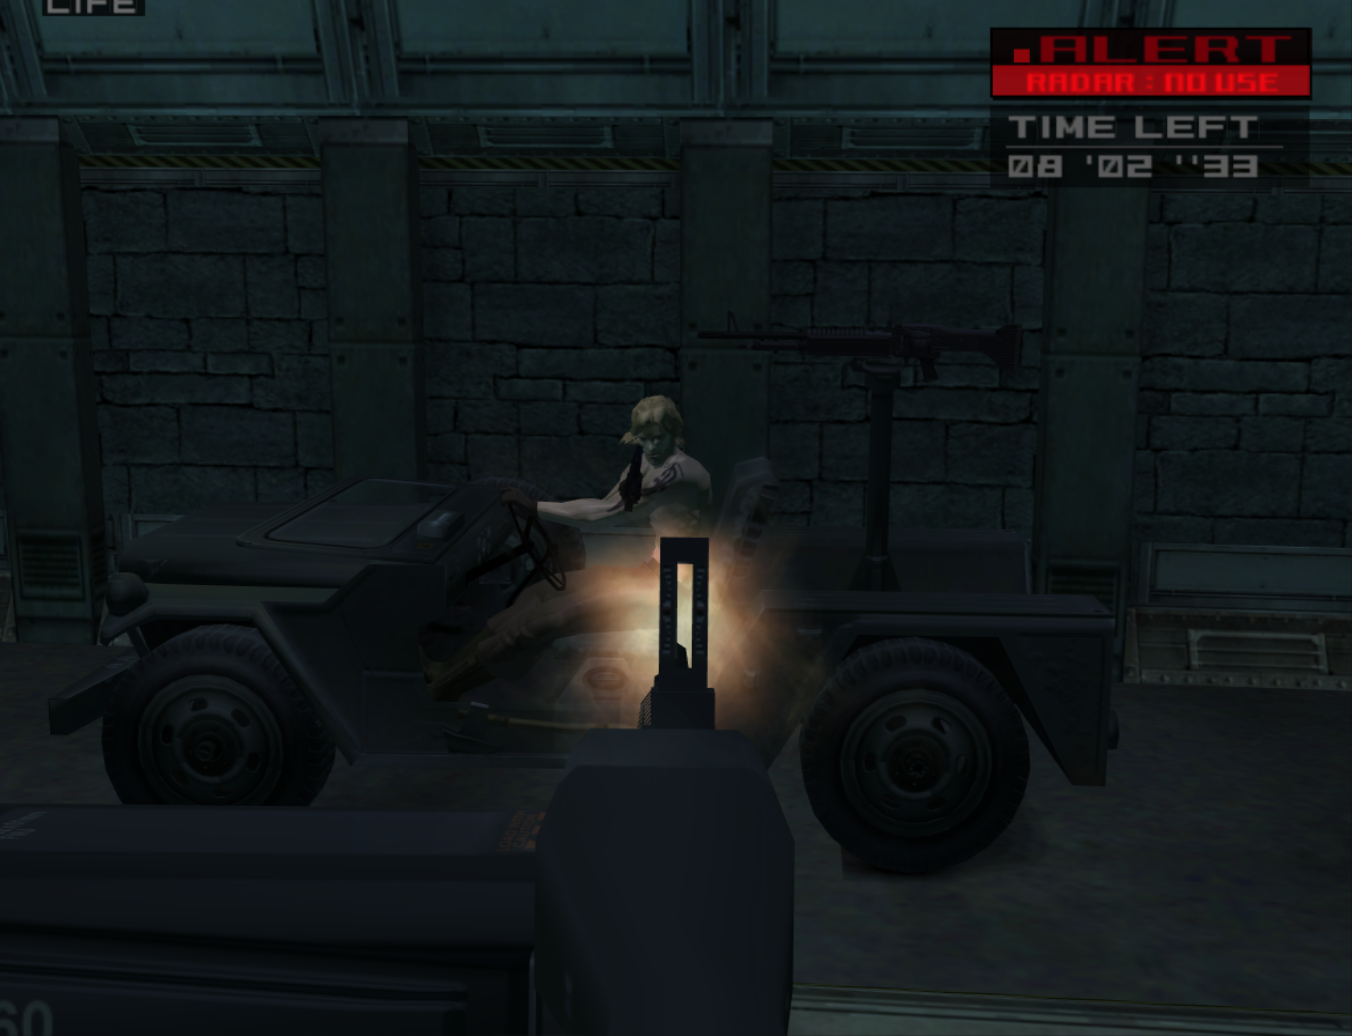
Tunnel/Bumper Phase
- Ply does a Third Person Shot during transition, seems to make the shot more consistent
- Depending on when you do the transition shot, Liquid's i-frames will affect the tunnel phase.
- Aim for the head after he bumps his car into yours.
- On final bump, shoot him once you get out of the tunnel.
- Repeat the fanning motion.
Side by Side Columns Phase
- Again, go for Third person shot on the transition
- Shoot him in the pants/abdomen on side by side
Side by Side Crashing Phase
- Aim at his back or his far shoulder (right shoulder)
- Aim far to the left
- Choose TPV, FPV, or a mixture of two. It's essentially personal preference.