Before the Run
- Select English on Integral to save 7 seconds at Nuclear statistics!
All Bosses (Very) Easy Disc 1
- All menus will be written out by input, NOT placement in inventory!
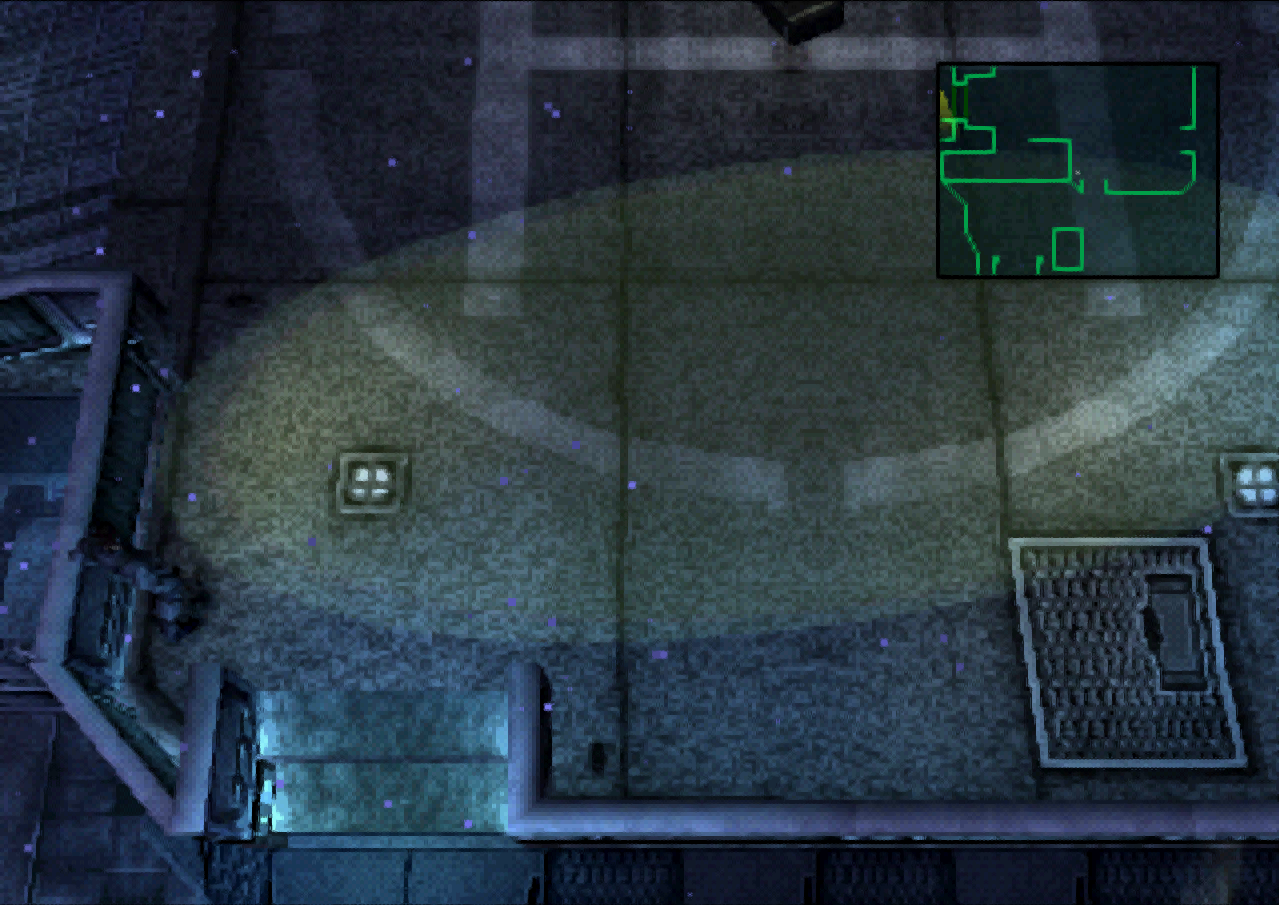
Dock
- Unless you are going for Rank 1 or Big Boss, you want to farm alerts in the Dock.
- There are many possible variants to the Dock, but only one thing is required. You must alter right guard's path, or kill him. If you do not, you will not be able to get on the elevator quickly (assuming stealth).
- If you alter the left guard's path, you must alter it further or kill him. Unaltered, he leaves the elevator area just before the elevator arrives (assuming stealth).
- You can use the credits as visual cues for stealth. Head up the left path when CG Artists Takashi Mizutani and Hideki Sasaki appear. The final credit is Assistant Director Yoshikazu Matsuhana.
- Instead of knocking on the wall, you can let the elevator guard exit. This is slower.
Heliport
- Initial dpad movement is simple and the same on every difficulty to manipulate the Helipad guard
- Quick equip Chaff on Heliport Pickup if you performed RAM Manipulation
- Stealthy position at the searchlights
Tank Hangar
- Once out of the vent, stand up quickly by pressing triangle and X shortly after another. This will skip the stand up animation play out.
- If you do not hold up on the analog for the Miller call, Snake will stop crawling. Be sure to move forward on the analog stick at the end of the call, so you won't stop. Feel free to switch to Dpad afterwards if you prefer.
- Don't cook the chaff the moment you exit the vent, or else the wrong guard can hear it. Begin cooking it a second later.
- You can also throw the guard approaching the elevator, but it is slower and harder.
Cell
- As you approach the DARPA Chief vent, mash circle to enter the vent as early as possible (Vermillion Vent)
- Quick equip Card in Cell if you performed RAM Manipulation
Guard Encounter
Armory
- When blasting yourself through the walls, tap once in the opposite direction of the wall when along the wall, then plant the C4
- Equip C4, one to left after picking up both packs in Armory
- Unequip card, one to right for rations to blast through Armory walls
- Equip Grenade/SOCOM, one to right after planting final C4
Armory South (Revolver Ocelot)
Grenade Ocelot Tutorial for all difficulties
After Ocelot
If you did not use grenades for Ocelot, you should pick up the grenades after Ocelot!
- Equip card, one to left after Ocelot
- Equip Chaff, one to right from grenade OR unequip one to left from SOCOM
Tank Hangar
Easier method to Vent Glitch - holding buttons
hold triangle, hold dpad up, let go of triangle, hold X, let go of dpad up and x once standing
Alternative Vent Glitch
- Hold up and triangle, release both, then press X to clip the vent. Don't press X too fast, or it won't work.
Canyon (Tank)
- For avoiding the mines
- Unequip chaff, one to right for grenades after tossing a chaff during Tank
Nuke Bldg 1F
- Equip Chaff, one to left from Grenade after Tank
- Analog Buffer is equip chaff immediately, PP, P
- DPad Buffer is equip chaff immediately, upleft at 3rd shadow, go along the wall.
Nuke Bldg B1
Nuke Bldg B2
Clip out of bounds using the box damage animation glitch
optional: grab the Famas by JN
how to perform:
- hold Circle to buffer a punch after the codec
- hold L2 and equip the box, then unequip it again
- Hold right until Snake sticks to the wall
- Aim for the visual cue
- Equip the box and wait for the animation to be over then hold right
More info:
https://metalgearspeedrunners.com/wiki/doku.php?id=mgs1_glitches#box_electric_floor_animation_glitch
Lab (Ninja)
- Unequip SOCOM, two to right for Stuns after Ninja but before Meryl is possessed
Nuke Bldg B2
Nuke Bldg B1
Get out of the elevator and shoot your gun to the bottom left to hit Meryl.
Getting her attention has her run to the bathroom.
You can quickly grab the box if you want to perform the cave vent gltich to go out of bounds.
Psycho Mantis
- Hold right, square and x to get an immediate stun throw for Meryl
- Equip SOCOM, two to left after tossing the pre-fight stun
iLL_Pazzo & Tromboncino's Claymore phase skip is the new meta to beat Mantis into the phase skip (Meryl falling over)
We can use a Claymore on a precise spot with a precise timing (when he lands on the ground)
and it allows to end first phase after 2 shots on EZ instead of 7 shots using grenade.
We can force him to land on the ground to use Claymore faster by skipping chairs phase
but it requires a frame perfect shot which is pretty tricky.
Explanation for Easy difficulty
https://www.youtube.com/watch?v=8APeemOLizk
Execution on Easy difficulty (This is on PC, Console/Emulator clip missing)
Here's the old method as done by Repeatzzzzz
for reaching the phase skip without the claymore:
- 7 socom shots
Commander's Room (Psycho Mantis)
- Equip Grenade, one to left after 7 shots on Mantis
- Unequip Grenade, one to right for SOCOM after the 2nd grenade throw
Cave
Vent Glitch Hold Method
For both going up and returning back through the cave
Underground Passage
- Unequip card, one to right for box, cave 1st trip
- Equip card, one to left after going oob
PSG-1 Backtrack
- Unequip SOCOM, one to right for Chaff after Caves
- Unequip Chaff, one to right for Stun for Armory
- Equip Chaff, one to left after Armory
- Equip box, one to right for Cave 2nd trip
- Unequip box after going oob
- if you need rations during Wolf 1, hold L2, two to left
- if you don't need rations during Wolf 1, stay unequipped.
Hold The Elevator Strategy (All Bosses)
- Time: 23.333 seconds (Timed at 60fps from HUD appearing to HUD disappearing.)
- This is equivalent to a strategy iLL_Pazzo has used in the past, but now uses one less Stun Grenade.
- iLL_Pazzo has mentioned that throwing a Chaff Grenade towards the end of the room is on average safer as it prevents the guard from wandering into the Elevator.
- On average Snake will get shot once from the 2nd guard.
- The most important part to this is getting the Alert from the first guard. Getting an Alert while the elevator is open keeps the elevator open for the duration of the Alert.
Wolf 1
- Equip PSG1, one to left upon entry
- Equip chaff, one to right upon moving after defeat
Medical Room
- Begin video at 2:12 for All Bosses.
- If you need to take a bathroom break, call Colonel early, mash through the codec, then wait by the door.
- You will need to mash through the longest codec in the game in All Bosses, good luck!
- from ration unequip, one to right for ketchup
- from card, one to left for ketchup
- from unequip (box previously), two to left for ketchup
- equip card, one to left after using the ketchup
- quick equip chaff after grabbing gear
- unequip card, one to right for box, cave 3rd trip
- equip card, one to left after going oob
Communications Tower A
Boba Skip - 50% successrate on first try
Chaff/Stun damage alignment - click picture for fullscreen

More infos about Boba skip can be found here
Further info on the old glitchless Tower A can be found in Glitchless
Communications Tower B Ascent
- hold weapon inventory button after Otacon scene, two to left for Chaff
- “Position your thumb at 10 o'clock while climbing the stairs, and 7 o'clock when descending. This way, you hug the exterior walls, run up the stairs in the most direct route, and don't become stuck or stalled on the banisters.” - Official Strategy Guide
Hind-D
- unequip chaff, two to right for stinger for hind
- unequip card, two to right for ration for hind
- unequip Stinger, two to right for grenades after 0 hp Hind OR equip chaff, two to left
- equip card, one to left after 0 hp Hind
Communications Tower B Descent
- unequip grenade, three to right for chaff after passing 1-4 turrets
alternative grenade turret tutorial
Snowfield (Wolf 2)
Before the fight, willingfully fail the lean trick to not require walking back to the start of the arena. By failing the lean trick you will be knocked back further than the regular cutscene knockback.
- cook and hold final garbage chaff before Wolf shoots you in the scope
- On Easy, you recover all your HP after defeating a boss.
- By the end of the game, your HP bar becomes rather large.
- Because HP recovery is slow on Wolf 2, you do lose time if your HP is low enough.
- Just heal if you are one hit from death/worried about your performance.
- Unequip PSG1, two to right for Stinger for Wolf
- Equip PSG1, three to left for Wolf
- if you finish Wolf off with Stinger, equip Stun, one to left, move forward to dark spot before she dies
- if you finish Wolf off with PSG1, equip stun, one to left upon moving after defeat
Visual guides

Ingame view super-wide screenshot (click for fullscreen)
